Exporting to Excel
Produce the spreadsheet you send to clients, subcontractors, or quantity surveyors.
Exporting an Estimate to Excel
The Excel export is what you hand to clients, subcontractors, and quantity surveyors. Every BQ document on the Cost build-up tab exports independently.
Step-by-step
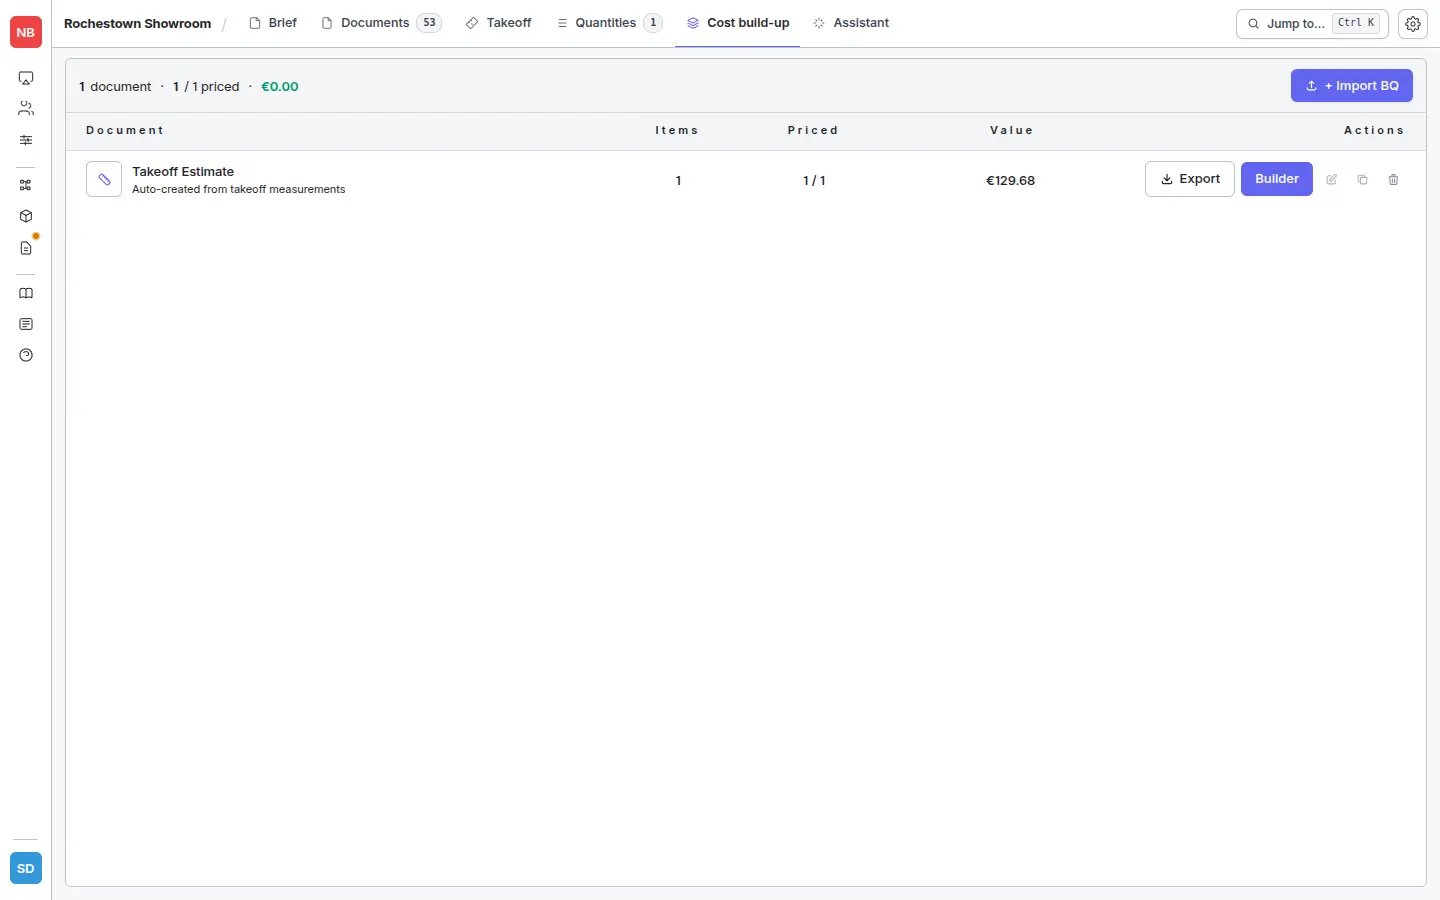
- Open the project and click the Cost build-up tab.
- Find the BQ document you want to export in the list.
- Click the Export button on that row (left of the Builder button).
The file downloads immediately as an .xlsx named <Project>_<Document>.xlsx. There is no dialog and no option picker — it’s a direct download.
You can also export from inside the Builder — open a document, switch to the Rates tab, and click Export in the top-right of the grid.
What’s in the exported file
- Schedule sheet — your section structure with line items: description, quantity, unit, rate, total. Subtotals per section and a grand total at the bottom.
- Component breakdown sheet (if enabled) — for each assembly-priced line, the underlying products, quantities, and unit costs.
- Cover sheet — project name, client, date, total. For the front of a printed pack.
Practical tips
- Currency in the export matches your company’s base currency, set in Company Settings. There is no per-export currency override — fix the company setting before exporting if it’s wrong.
- Each export is a snapshot. A file you sent last week is not affected by rates you’ve changed since. If you need an up-to-date version, just re-export.
- One document at a time. If a project has multiple BQs (e.g. a takeoff estimate and an imported client BQ) you export each one separately.