Creating Assemblies
Build a reusable recipe that produces a fresh, accurate rate every time it's applied.
Creating Assemblies
An assembly is the most powerful tool in the library — once built, it produces a fresh, accurate rate every time it’s applied, using whatever current prices your products have.
When you need an assembly
You need an assembly any time a single product doesn’t capture the full cost of one unit of work. Examples:
- Brick wall per m² — needs bricks, mortar, ties, bricklayer hours, labourer hours, scaffold allowance.
- Excavation per m³ — needs excavator hours, banksman hours, disposal cost.
- Painted wall per m² — needs primer, two coats of paint, painter hours, masking allowance.
If the line is just “deliver 1 m³ of concrete”, you don’t need an assembly — a direct product price is fine.
Two ways to start
Adopt a system template (fastest). Open Library → Assemblies → Catalog. Browse the built-in templates, click View details to inspect the recipe, then Use template to copy it into your library where you can rename, retune, and reprice it.
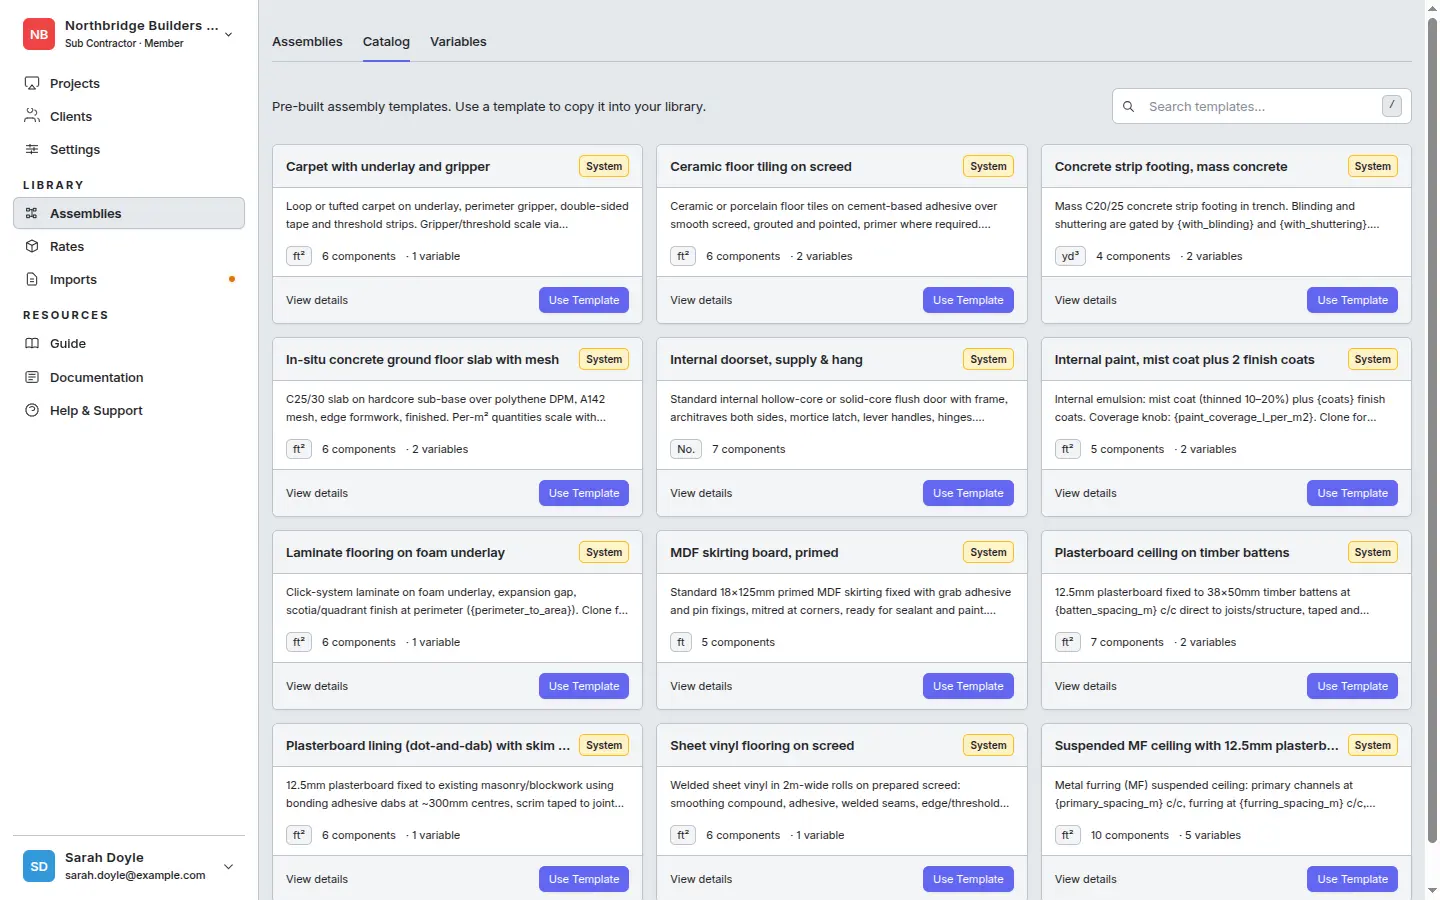
The Catalog covers most common construction items — masonry, finishes, floor coverings, ceilings, and structural elements. Each template ships with sensible default expressions and variables, so adopting one is usually faster than starting blank.
Build from scratch. On the Assemblies tab, click + Create Assembly, then add the header fields and components yourself.
Building from scratch
- Go to Rate Library → Assemblies.
- Click + Create Assembly.
- Fill in:
- Name — describe the output, not the recipe. “150 mm Reinforced Slab”, not “Concrete + rebar mix”.
- Trade / category — used for filtering and AI suggestions later. Pick the trade that does this work.
- Output UOM — the unit one assembly produces. For a slab it’s
m². For pipework it’sm. For a door installation it’seach. This is what the rate will be per when you apply it.
- Save to open the assembly editor.
Adding components
For each line in the recipe, click + Add Component:
- Pick a product from the library. Use the search — by name, category, or supplier.
- Quantity expression — how much of this product is needed per output unit. Examples for a slab assembly (output UOM = m²):
0.15— a flat 0.15 m³ of concrete per m² (assumes 150 mm slab).{block_thickness_mm}/100— references a variable, so the same assembly works for any thickness. Type{in the expression field to open the variable picker.12— 12 kg of rebar per m² (a constant).0.05— 0.05 hours of carpenter time per m².0.15 * (1 + {waste_factor})— material with waste added in.
- Waste % (optional per component) — material-only allowance applied on top of the quantity expression.
- Click Add. The component appears in the list, grouped by kind (Materials / Labour / Equipment / etc.), with its computed contribution to the rate.
The assembly’s Built rate appears in the footer and updates live as you add, edit, or remove components. If any component references a product that hasn’t been priced yet, you’ll see a “Needs product” badge and a “Never priced” state — fix those in the rate library and the built rate will fill in automatically.
Real example
150 mm Reinforced Slab (per m²)
= 0.15 m³ concrete + 12 kg rebar + 0.05 hr formwork-carpenter + 0.08 hr labourer + 5% waste
Each line is one component. The output UOM is m². When you apply this in a takeoff group with 240 m² measured, you get 240 × unit rate as the line total.
Related
- Variables — make one assembly cover many cases.
- Tips and pitfalls — naming, waste factors, deletion rules.
- Applying in the rate builder